
Week 5 - TKO (page 40)
- Jenn
- Feb 21, 2021
- 8 min read

To skip my preamble and go straight to the food, click here.
To skip it all and head straight to the conclusion, click here.
Photos will be peppered throughout :)
Check out Kristen's post of this cookie here!
We are back!
This week was a heck of a ride - this cookie was full of drama. Grab yourself another coffee and buckle up. I've got some feelings to process.
These cookies are Sebastian's gift to Thomas Keller when he found out he loved Oreos. If you're new to the planet or have been living under a rock, the Oreo is a pretty ubiquitous sandwich cookie. It's got chocolate cookie outside, and a sweet frosting center. The Wikipedia entry says that it's the best selling cookie brand in the U.S. Who knew.
I was really excited for this cookie. I like Oreos, but they're not my favourite. Give me an oatmeal raisin cookie any day. Or a chocolate chip. Or one of my mom's peanut butter chocolate chip. Commercial Oreos I find are too sweet on their own, but I do enjoy them in ice cream :D.
This cookie is effectively a thin rolled chocolate shortbread with a white chocolate ganache center, piped in a decorative manner.
These cookies are beautiful. The scalloped edges on the cookie combined with the pearled effect of the filling is really impressive. Using black cocoa provides such a deep, dark colour it's almost like the real thing.
The TKO - The original recipe
I doubled this batch, after reading that it would only make 16 cookies (8 sandwiches) for one batch, and I wanted to give some away. I figured I could make 16 cookies and give a couple away to some friends, since the mention of homemade Oreos was met with curiosity and delight to all those I talked to.
This recipe starts like most others - cream the butter, add the sugar (and salt! :D), dry ingredients go next. Like I said - a shortbread.


Above L-R: Ingredients laid out, sifting cocoa in, cocoa mixed in to flour.
The black cocoa is interesting to work with. If you look at it, it looks dark brown, but once mixed into the flour, the whole thing looks grey. Check this out:

Above: close up of flour and black cocoa, mixed.
The whole result, once mixed, is crumbly and dry, leaving you to think "Did I miss a step? Do I need to add liquid?". Nope. You're not crazy, but you don't need to add liquid. You just need a lot of patience with this dough.

Above: crumbly cookie dough still in the mixing bowl. Looks like sand, or cookie crumbs.
At this point, the instructions say to smoosh it all together into a block and refrigerate in order to roll it out. I talked to my baking friend Sharon who has made these before, and she indicated that she does not refrigerate before rolling. (Side note - if you're in her neighbourhood, do yourself a favour and check her baking out. You won't be disappointed. My favourites are her chocolate croissants, spinach and feta twists and her canary bread. Oh and the Eatmore bars. Basically everything she makes is amazing.)
I worked at getting this dough to behave for probably 15 minutes before before giving up, blocking it all and throwing the lot into the fridge. Originally I was encouraged because my squish test out of the mixer was successful, and I was able to roll out some dough thin enough on my first go round, but I wasn't happy with how it was behaving so I thought a rest overnight in the fridge would do it some good (hydrate the dough, relax the gluten, etc).
I was wrong on a number of levels.
The dough has no liquid, only butter. Doesn't need to hydrate, since the flour bits will be coated in oil (butter) not liquid.
The gluten isn't really becoming activated like it would in bread. The morning after I refrigerated the dough I read a side blurb in the book about why shortbread is called shortbread. The fat in the butter inhibits the long proteins from developing (as they would in bread) and the dough ends up short, rather than long and stretchy. (source). Cool hey?
Refrigerating the dough would help the texture of the dough, and make it easier to roll out.
That last point, very wrong. Sharon has it right - if you're making this recipe, smoosh the dough together and roll it out when it's room temp or warmed by the heat of your hands.
Eventually it comes together, though, after a TON of elbow grease (and some select language).


Above L-R: Smoosh test, just after mixing, and then the first roll out just after mixing. Note the crumbs on the sides and the huge cracks.
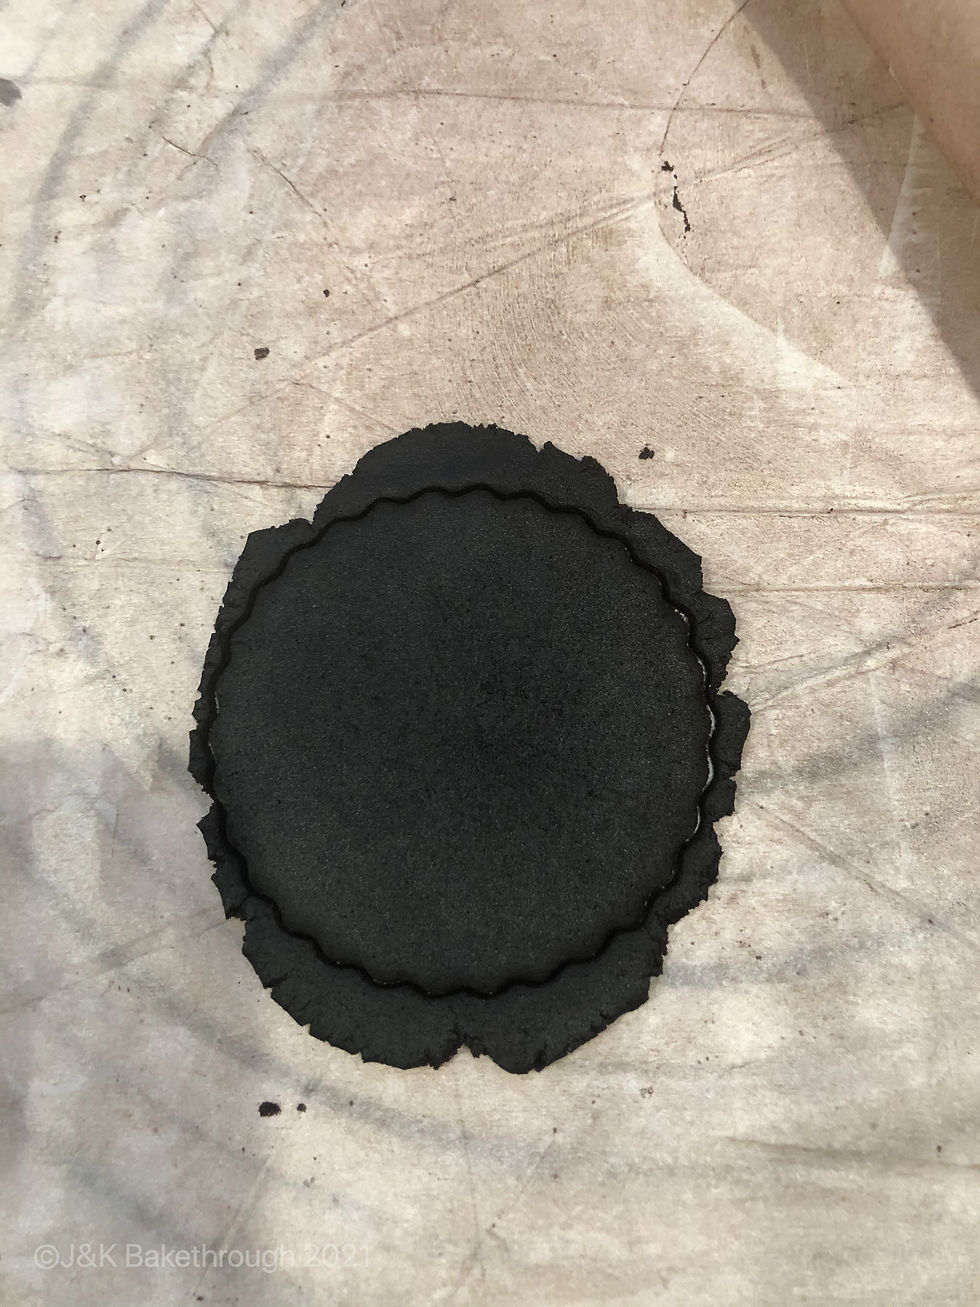
Once the dough comes together, the process is fairly simple but not without frustration. These cookies call to be rolled super thin - 1/8". You also want to roll them on a parchment, but be super careful that the parchment doesn't crinkle underneath the dough you're rolling, otherwise the dough will either have a wrinkle in the bottom OR if you try to straighten the parchment, you end up splitting a bunch of the dough.


Above L-R: The first test roll & cut, split cookies that will need to be re-rolled after straightening the bottom parchment sheet.
Eventually, I got down to the final two cookies.


Above: The last two cookies. (Or so I thought.) I cut these two cookies and was done. I was jubilant. I danced a little. I may have even cried out in celebration. After going in thinking "16 cookies for 8 sandwiches, doubled", I re-read the recipe, and apparently missed the part where he said to cut out the 16 cookies and then bake the scraps to use for crumbles.
I re-rolled the dough and ended up with 74 cookies. SEVENTY-FOUR COOKIES. 6 dozen plus two. Until I realized that I could get one more from the scraps from the last two. Of course I could. 75 cookies and I was DONE. Pro tip - don't double this recipe unless you want a whole lot of cookies. If you're doing the math, you'll end up with just over three dozen sandwich cookies (because next we need to fill them all too ;) ).
As someone who lives with one other adult and one 9 month old puppy, who doesn't even love Oreos to begin with, I was crossing my fingers, hoping I had enough friends to give these to, and that they turned out okay.
Above: Re-rolling my scraps from my 'last two cookies' I had enough for one more. Of course. It's the dough that never ends.
At this point I'm pretty sure I cried. The dough never got easier to moosh together and roll out, it was always just stiff and terrible to work with.
These bake quickly, and because of the black cocoa it's really hard to tell if they're overbaked or even burned. I found this out last year when I used this cocoa to make chocolate sugar cookies to decorate - they ended up burning and inedible. Womp.
These also bubbled up during baking, I'm sure partially because of the number of times I re-rolled. I flattened one batch down with a spatula and it had the curious effect of taking away the shine of the cookie. I'm not sure I grabbed a photo of the difference in the tops once one had the bubbles flattened, but it was interesting.


Above L-R: Unbaked cookies, baked cookies.
Now that the cookies done, it's on to the filling. I was excited for this filling because it's not the standard icing, it's white chocolate ganache, whipped. Ganache is essentially melted chocolate plus dairy - in this case it's cream and butter. I've made ganache plenty of times before but this was my first time using white chocolate and also the first time whipping it.
I opted to use Callebaut's W2 chocolate since it's the one I've had experience with in the past, and I needed to pick up more anyway.


Above L-R: Ingredients laid out (butter, cream, W2 callets), finished ganache
The ganache turned out beautifully. It was thick and smooth and not too sweet. I popped it in the fridge to firm up overnight, and then after reading the internet's comments about this ganache, decided that the collective wisdom of allowing it to come to room temperature before whipping it was a sound one - people had complained that whipping cold ganache leads to separation and I didn't want that.


Above L-R: two views of separated whipped ganache
And yet, it happened to separate. I was annoyed and unsure what I was doing wrong. Looking at the ganache I tried a hail mary (or maybe we'll call it a hair mary?) and broke out my hair dryer again to warm up the fat that had globbed together.

Above: My trusty Kitchenaid mixer with my hairdryer warming the bowl of ganache. The splatters on the cover are from the cream that has separated out.
2021 is the year where my hairdryer has officially become a kitchen appliance, since it's been used more in the kitchen in the last month than on my hair in the last year and a half. This is normal, yes?
This worked beautifully, and I now had a thick, pipe-able ganache to fill my cookies with.

Above: My ganache, looking and feeling an awful lot like mayonnaise. I know what my next prank is gonna be.
So. Into the piping bag, with a small-ish round tip for the bag. I LOVE the way the effect of the piped filling looks around the edges once sandwiched together, so I emulated it.
My baking pal Joelle suggested I use my cookie turntable that I use for decorating sugar cookies to do this, and it worked out quite well.


Above L-R: Naked cookie bottom waiting to be filled sitting on my turntable, decorative piping as described in the book.
Whew! This was a journey, friends. If you've made it this far, I commend you.
Here's what you've been waiting for - the photos of the final product.


Above: photos of the final cookie, in its scalloped final form. These cookies are super pretty and despite the work & frustration, I think the final product is worth the effort for this effect.
My spouse, B, sampled these cookies with me. I also gave most of these away to friends since I made so many :). Neither B nor I were blown away by this cookie, and agree that the double chocolate ones from a couple of weeks ago, or even the Better Nutters from week 4 were more to our tastes.
Even though these were not my favourite cookies I had rave reviews from everyone who tried them! They're much different than standard Oreos though, so don't go in expecting a crunchy sweet cookie. The ganache isn't as sweet as the standard filling and much more decadent.
Conclusions:
I think if I was going to make these again, I'd not use the ganache as a filling. I found it too rich and it was entirely too fiddly/fussy for my liking. A standard buttercream would do nicely here.
I'd moosh the dough together before any kind of rolling/cutting/fridging. It takes a while, since all the flour isn't quite coated in butter as soon as it gets out of the mixer. Working the dough with your hands, over and over, using patience and elbow grease is really the only way to get this dough cohesive and uniform.
Going in I'd decide how many cookies to make, and scale the recipe accordingly. Knowing now that 2 batches yields roughly 3 dozen sandwiches, if I needed a dozen cookies I'd roll & cut enough cookies for a dozen finished cookies plus a few more in case there were accidents, and then bake off the rest of the dough as-is to use for a crust in something else down the road.
Before making a recipe with black cocoa next time, I'm going to make a sample quarter- or half-recipe first to nail the baking time, so I don't overbake or burn since the black cocoa makes it hard to tell.
Piping this many cookie sandwiches, the ganache softened a LOT from the heat of my hand and turned out to be quite liquid-y after a while, making it hard to pipe properly. I'd probably use gloves or pipe in smaller batches to keep the ganache cool and thick enough to pipe.
After a day, the cookie part softens quite a bit so they're even less like a traditional Oreo. If I was going to make these for someone or to sell, I'd fill them the day of.
Thanks for reading! I'm looking forward to week 6 and hope you are too!


Comments